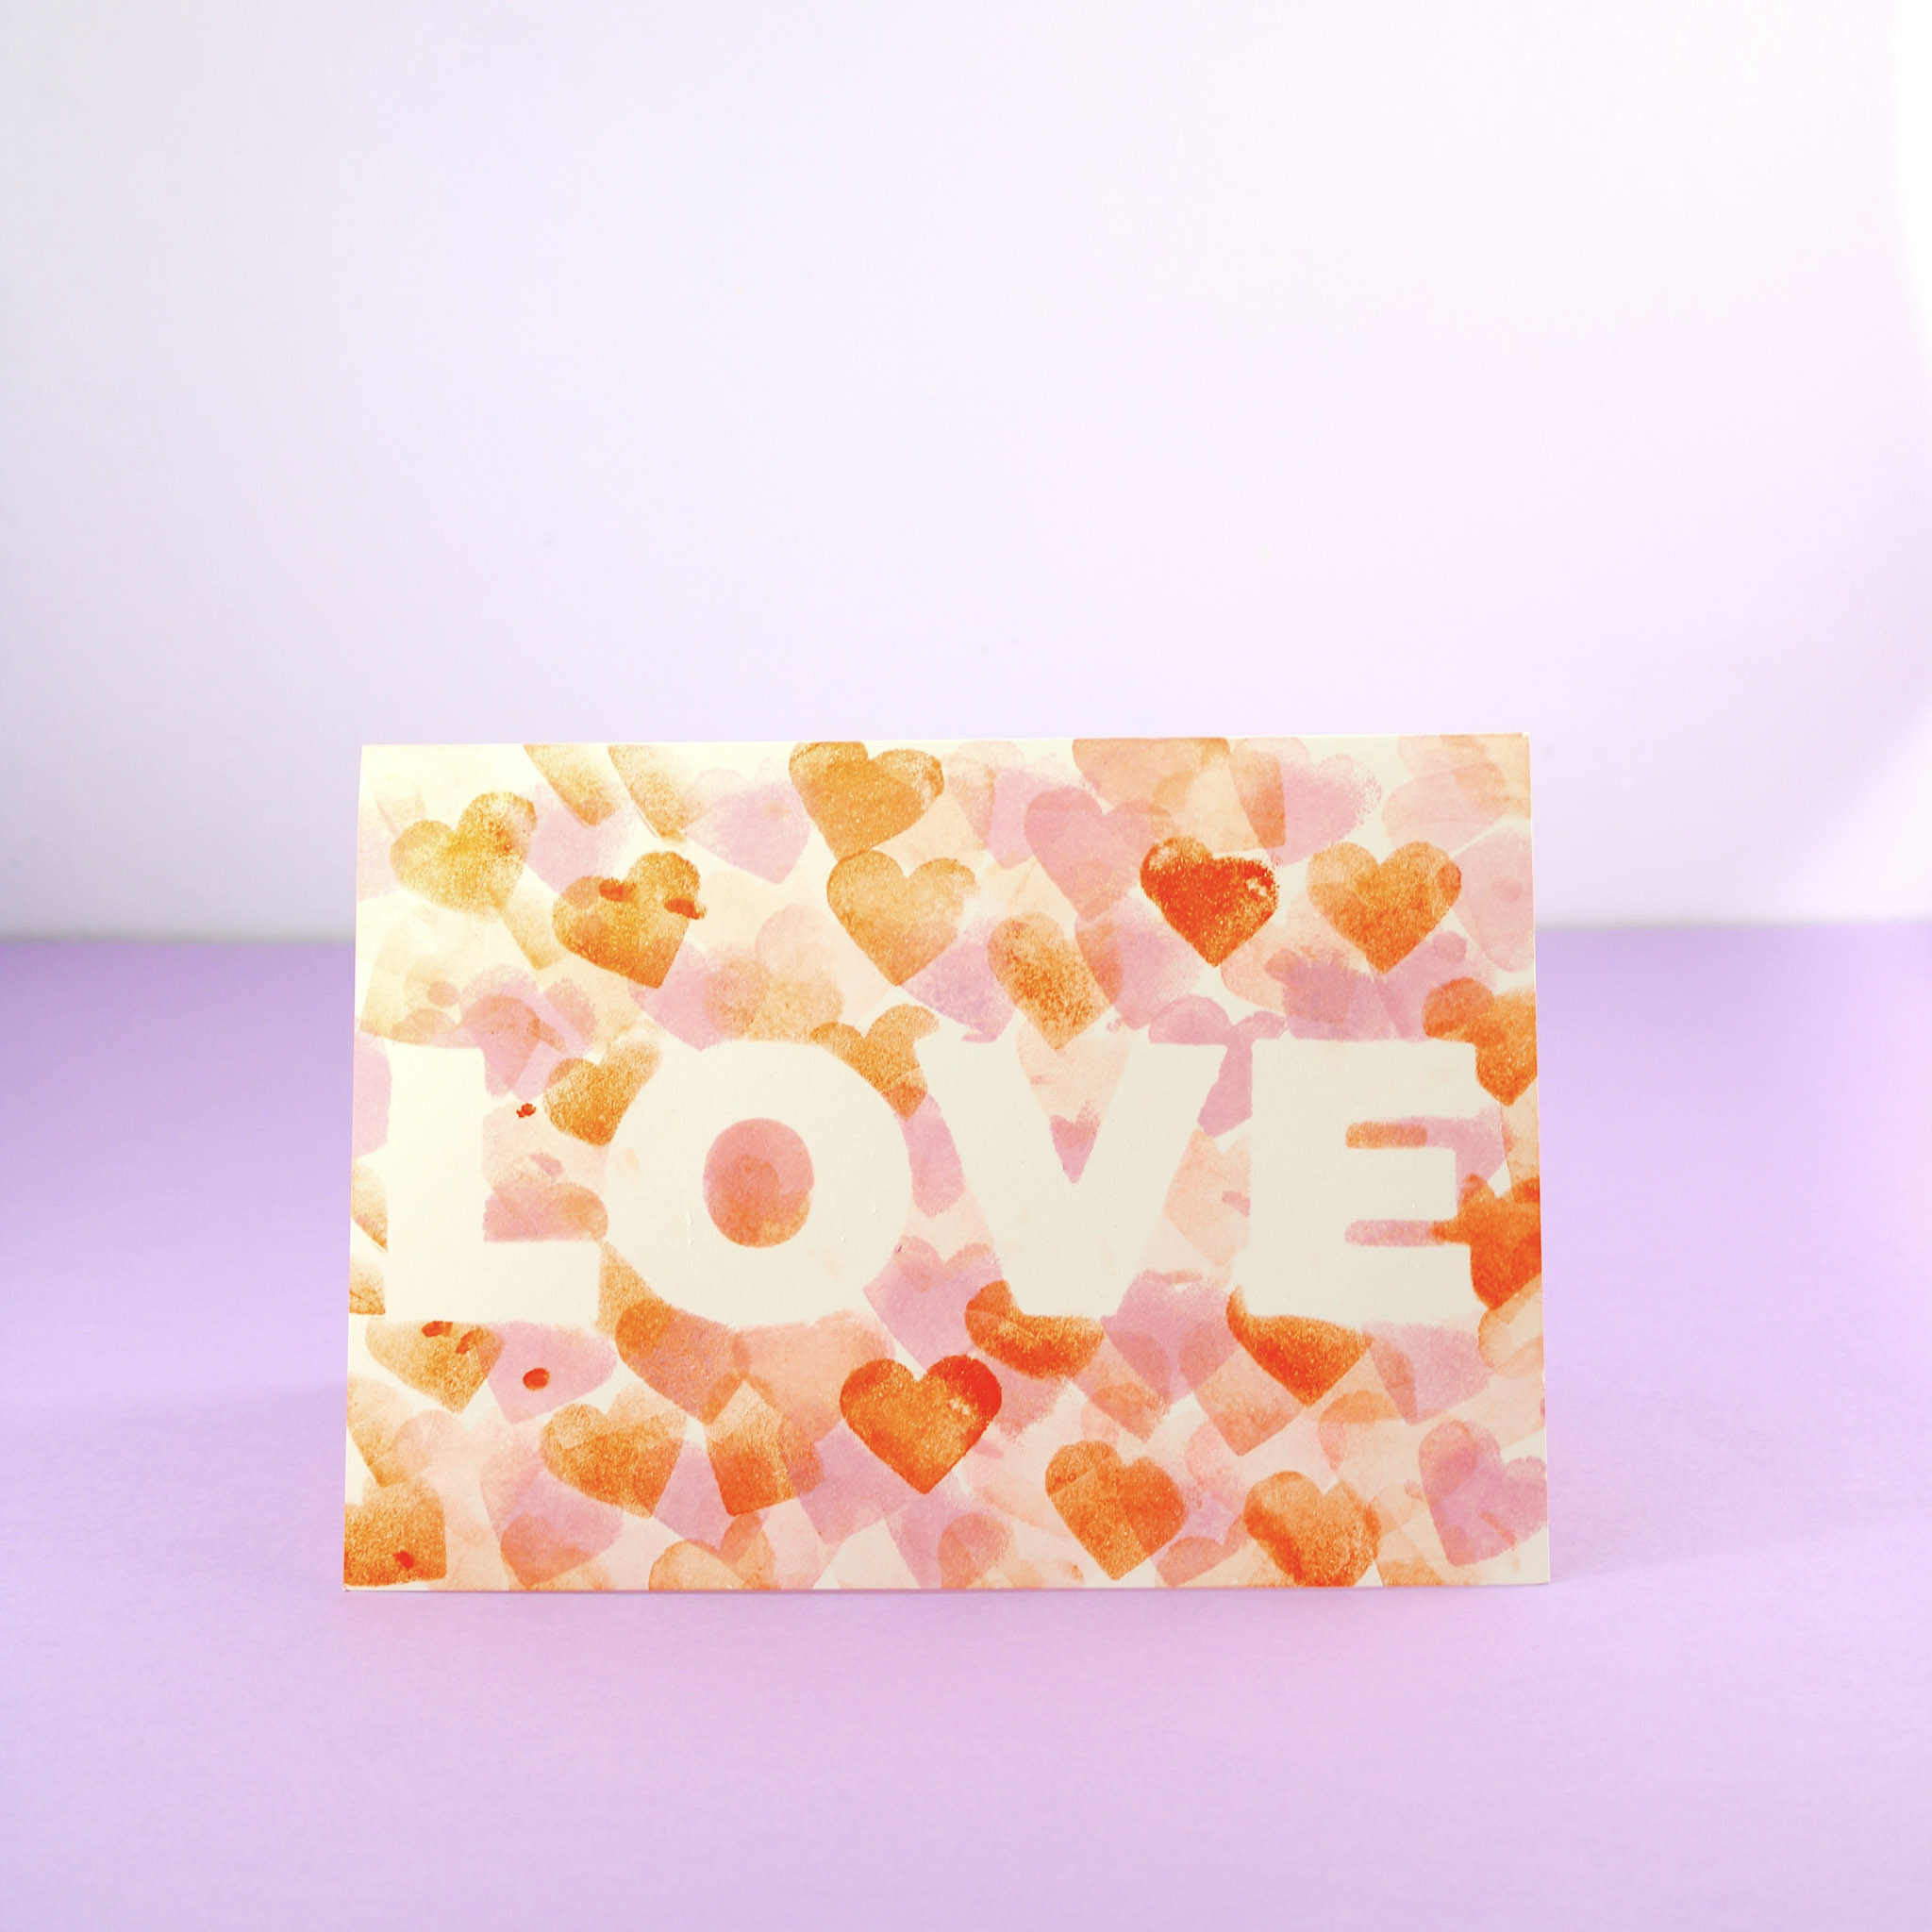
This bright and colourful Valentines card uses the simple combination of stamp and ink to create a beautiful handmade heart pattern that a special someone will be sure to love.
Quick, fun and easy to do, this card makes a perfect Valentines activity for the classroom, after school, or at any other time there are a few moments to spare.
* This post may contain affiliate links. If you click on these links to purchase a product, I may earn a small commission, without any additional cost to you!
You Will Need
- 1 sheet A4 medium weight card in cream or white
- Inkpads in 2 or more colours
- Scrap cardstock
- Small piece of craft foam
- Large wooden bead
- Painters tape
- Square of thick cardstock
- Hot Glue Gun and Glue Sticks
- Scissors
- Pencil or Marker
Enter your email below for access to your free PDF printables and SVG files.
(By entering your email address you will become subscribed to the Craft Learn Play Repeat weekly newsletter, which keeps you up to date with all of our latest projects. You can unsubscribe from these emails at any time)
How to Make
Use the PDF printable templates to trace the letter stencils onto scrap cardstock and cut out. Trace the love heart onto craft foam and cut. Cut a piece of thick scrap cardstock the same size as the square template.
Alternatively, upload the SVG file into your cutting machine software and cut the love hearts from craft foam. Cut the letters and square from scrap cardstock.
Use a hot glue gun to attach the love hearts one on top of the others and glue the stacked love hearts onto a square of thick cardstock.

Glue the bead to the other side of the square.

Fold your A4 piece of cardstock in half lengthways. Lay out your folded card horizontally with the fold at the top. Take small pieces of painters tape and fold each piece into a loop, sticky side out.

Attach these pieces to the back of your letter templates.

Attach the letter templates lightly to the front of the card to spell out the word LOVE.
Stamp hearts all over the front of the card, alternating your colours.

Continue to stamp until your have covered as much of the card surface as you can. Be particularly careful to ensure that all of the areas surrounding the letter templates are completely covered with ink. If not, when you remove your letter templates the letters will not be clearly enough defined.

Gently remove your letter pieces to reveal your beautiful finished card!
This craft can be repeated over and over, using different background cardstock colours and as many different ink colours as you would like. Paint sticks also work well on these stamps as an alternative to ink. I wouldn’t recommend using dark or vibrant coloured cardstock as the ink tends not to show up as well on these surfaces. Happy stamping!
