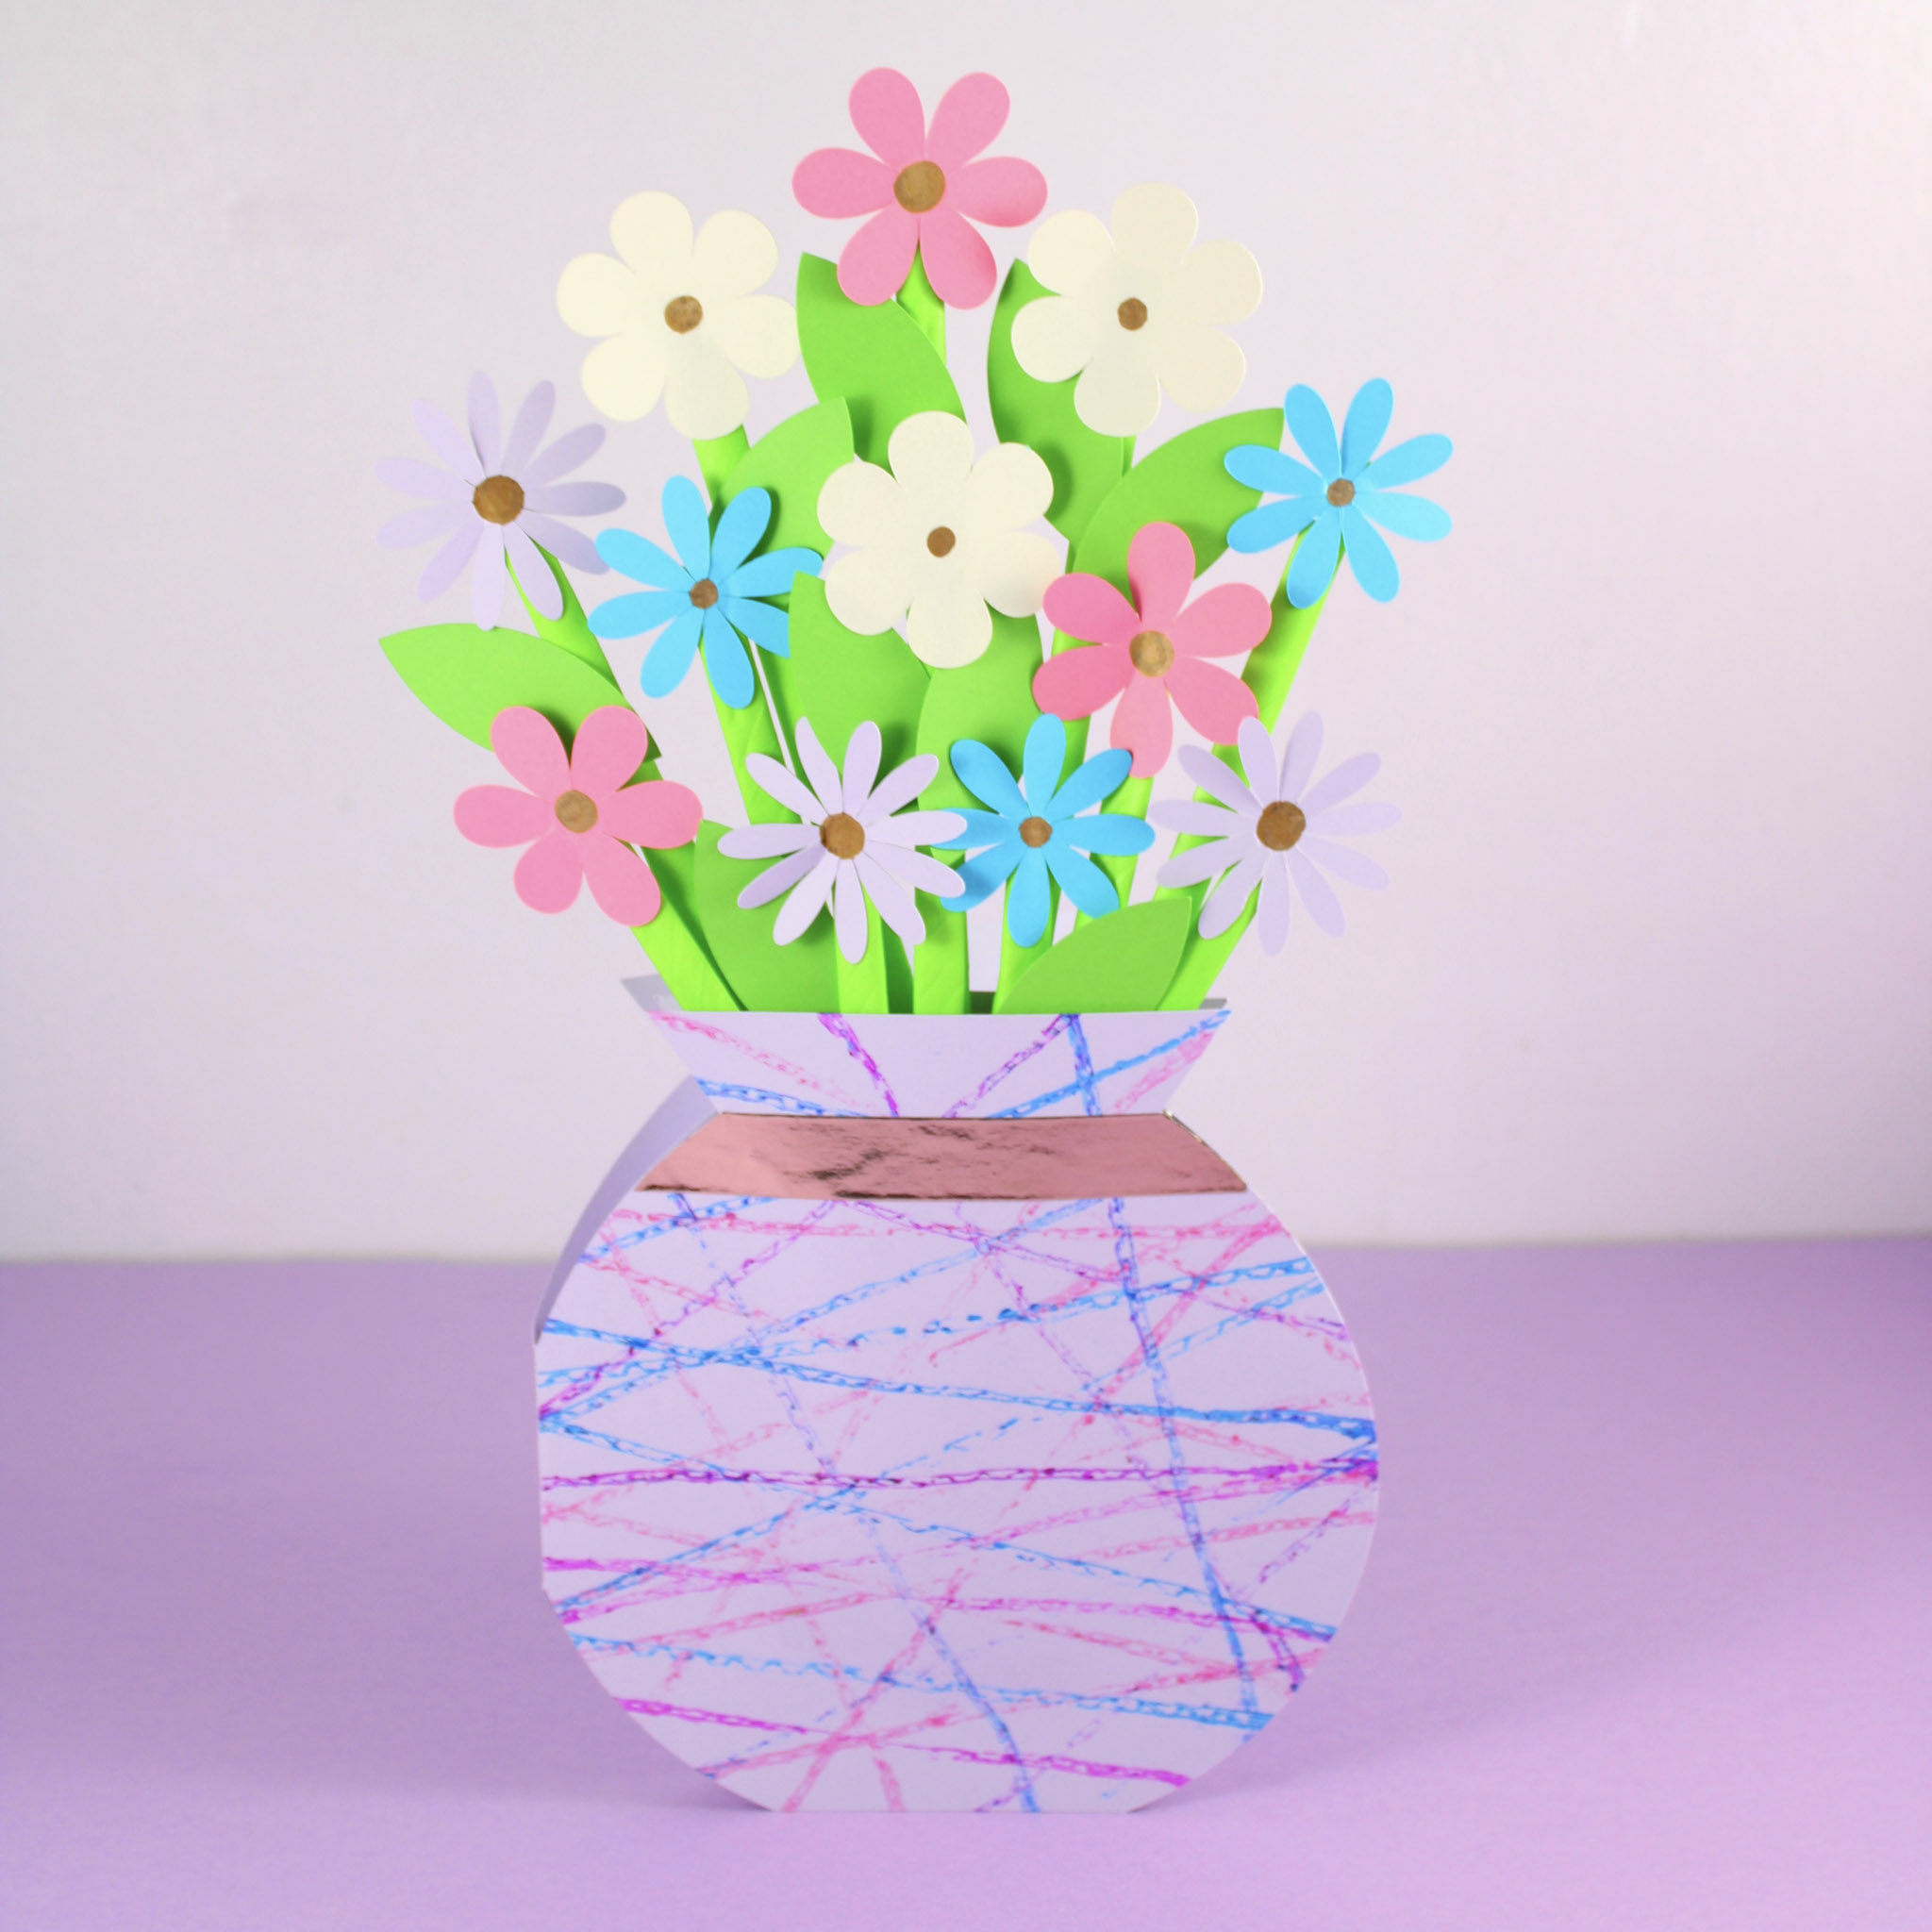
A vase full of flowers and a handmade card are the perfect Mothers Day combo, so why not join them both together to give the ultimate gift – a Vase of Flowers Mothers Day card!
This card is big and bold, with fun printing techniques to make the patterned vase, some fake flower arranging, and a bit of washi tape thrown in for good measure.
* This post may contain affiliate links. If you click on these links to purchase a product, I may earn a small commission, without any additional cost to you!
You Will Need
- 2 sheets of heavyweight – medium weight A4 cardstock in colour of choice
- 4 sheets of medium weight cardstock in different colours for the flowers
- Green cardstock for the leaves
- Strip of corrugated card 15cm x 2cm
- Paint sticks
- 10 green paper straws
- Gold pen
- Tacky glue
- Scissors
- Foam squares
- Sticky Glue Dots
- Washi Tape (optional)
Enter your email below for access to your free PDF printables and SVG files.
(By entering your email address you will become subscribed to the Craft Learn Play Repeat weekly newsletter, which keeps you up to date with all of our latest projects. You can unsubscribe from these emails at any time)
How to Make
If using the SVG, upload the file to your cutting machine software. Change the blue line to a score line and attach to the main card piece. Cut out the vase pieces in one colour. Cut the flowers and leaves using contrast colours.
If using the PDF printable, print and cut the templates. Trace the vase sections onto one colour and the flowers and leaves onto contrast colours, cutting the correct number of each piece as indicated on the template.
Fold the main card section in half and lay on your workspace with the fold to the left.
Apply paint from a paint stick along the long edge of the corrugated card and press down onto the front of the card to transfer the paint.

Repeat with different paint colours, changing the angle and direction of the paint lines to create a criss cross pattern across the front of the card. Flip the card and repeat on the back if desired.

Colour the flower centres with a gold or bronze pen.

Leave 7 of your straws full sized and cut the remainder in half. Press them flat using the edge of a ruler or scraper tool. Glue a flower to the top of each straw.

Once the glue has dried, tape the straws to the back of the card front at varying heights. Tape the flowers attached to the shorter straws first.

Add the longer straws next. Periodically check how the flowers look from the front, un-taping and rearranging the flowers as necessary until you are happy with how they look.

Lay your extra vase section with the edge that has been flattened off slightly to the left. Apply foam squares to the back of the single vase piece, keeping them placed around the left, right and bottom edges of the vase. Keep the centre and top free from the foam pieces.

Attach this piece to the section of card that you have taped your flower stems, pressing down firmly and hiding this part from view.

Lay your card with the flowers facing up and tuck your leaves in between the flowers and stems, securing each leaf with a sticky glue dot when happy with its placement.

You can finish the vase off with a strip of washi tape along the neck of the vase, trimming off the edges with scissors.

Your card is complete!
